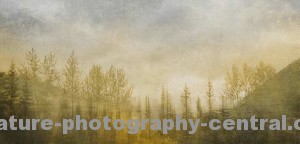
One of the first things people say when they see my images is “How did you do that…?” I have no secrets – I usually share everything and anything to do with my techniques (IF I remember them). Many times though I am in free flow mode and I am in a groove almost a trance-like state sometimes – I listen to my music LOUD, and just get going and the image seeps out and almost creates itself! But when I do remember, or when I take notice of what’s happening and capture my steps, I share whenever I’m asked.
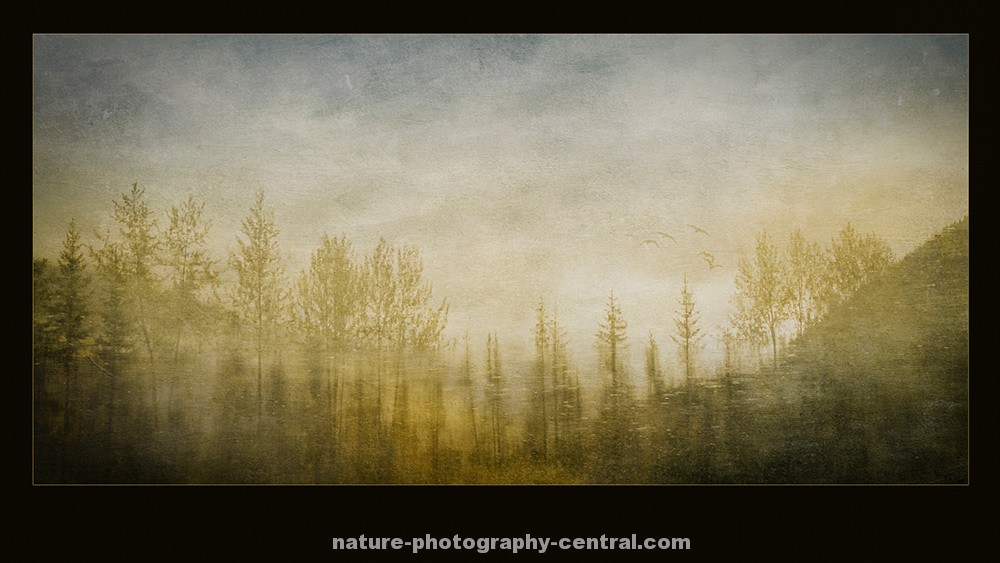
And so I’ve had several emails about this one – which won Excellence at this year’s PPOC Image Salon (Trophy winners will be announced on Wednesday night). And I put together this tutorial about how I made it.
You can skip to the end to download the source files if you don’t want my long winded explanation!
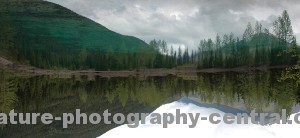
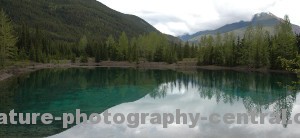 The image as shot was this – (this is a crop because I can’t find the absolute original), no Photoshopping except for cropping. Yes, the water is really that colour! Notice how blown out the sky is! I was so amazed by the colour of the water I wasn’t looking UP.
When I saw the file on the computer, I flipped it vertically for a more visually confusing image. (heheh!)
Now in the flipped version, your gaze is drawn to the centre right of the image – which is where your eye wants to rest , so I did a severe crop of that area, with the trees in the reflection (which in this flipped version is now sky!)
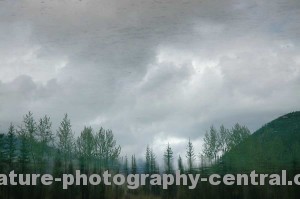 This is the working crop, flipped horizontally now, so the long angled slope leads you INTO the image. Any by further cropping we get rid of the nasty white sky. There is some magic in the dark and brooding clouds, so I’ll also work on them.
Next, a little Lightroom!
In Lightroom, I added a gradient to the crop so my base image had some softer colour tones. This doesn’t have to be a Lightroom taks, but I ha some presets that I wanted to test.
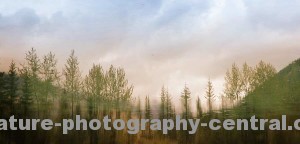
The colour tones are much more pleasing – more reminiscent of a sunset that a gloomy rainy day! The gradient was simple, a dark peachy pink transitioning to blue in the sky. But it still needs a lot of work.
Photoshop and TEXTURIZE #1!
 Then I added this texture, as an UNDERLAY – most people add textures ON TOP on their images, but try using a texture underneath. Play with blending modes and duplication of your image layer, with different opacities. If you grab the PSD source files you can see what I did.
TEXTURE #2
 But for image competitions you have to tell a good story so I created a new PSD consisting previous file PLUS an additional texture (here), to make it look like a painting, and did a bit more some more colour patching and burning in. I added some birds using bird brushes made from a photo of birds flying, right at the “power ppoint of the composition. Then I had to “matt” it for display at the show.
ALMOST DONE!
This is the file before the birds and matt. (See the image at the top of the post for the final award-winning image). And voila, a fine art print!
This link below will get you a scaled down version of the 2 layered PSD source files. The first added the first layers and testure, and some dodging and burning, and the second one contains all the other layers and the birds and the matt! Grab it now – I can’t keep it available for long. Get the layered PSD files for The Making of – Rain Forest Tapestry. (2 files in a Zip). By downloading this you agree that you’re using this file for your own learning and education, and you understand that it is my copyrighted work and you cannot display it anywhere, in any manner at all including in mashups and derivative works. I know you’re col with this, so thanks in advance!
Do let me know how you make out with this one -remember that the goal is not to replicate this exact look, but to use the techniques on your own images to develop further, you own style and fine art photography techniques.
ttfn!

