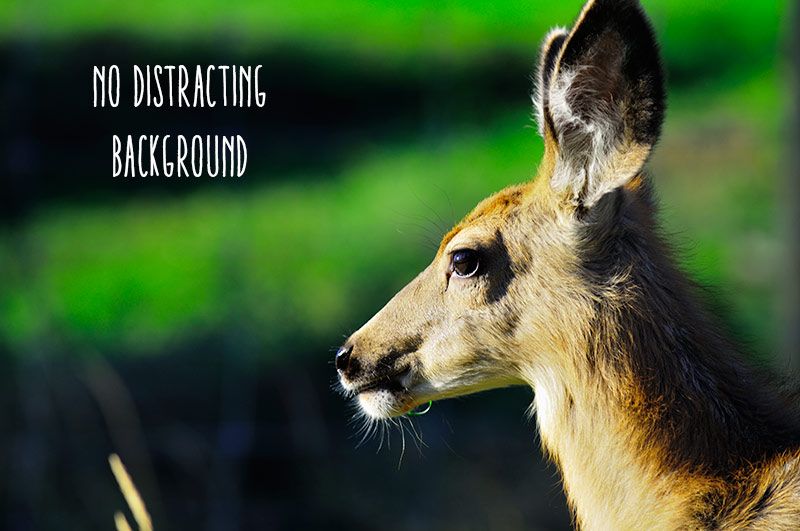
Shallow Depth of Field Photography: aka Blurry Backgrounds

The shallow depth of field photography technique (sometimes referred to as bokeh – which is related but is really something quite different) is one of my all-time faves! It’s a great way to isolate your subject. It puts the viewer’s attention squarely in the right place. It can give a romantic, dreamy mood to your nature photography, and it is also one of the easiest to master. (unless you have a digital point & shoot camera without interchangeable lenses – see the Digital Photography FAQ for more details).
Here’s what you do to create blurry background nature photos
The shallow depth of field photography method:
- Select your lens that has the smallest aperture NUMBER – for example, 2.8, 4.0 etc.
- Use your camera on the aperture priority setting or on manual. Change the aperture number to its smallest setting, 2.8 4 5.6 etc. What ever the smallest number is that’s where you want to be!
- Focus on your subject to make sure it’s clear and well focused. THEN, (if you’re using a DSLR or mirrorless camera) take a look at the aperture setting ring on your lens – hopefully you’ll have one with the feet/meters indicated on it. Unfortunately most modern lenses have done away with this important feature. If you do’t have this, you will see your aperture number in your viewfinder or on the LCD screen on the back of your camera.
- But you can also use DOF tables or calculators. I use an app on my iphone called PhotoPills (also a fantastic website) which is one of the best apps I own! Or look for the aperture stop-down preview button on your camera.
Whether you use a setting on your lens or a calculator, you’ll see a guide, that shows you how much of your photo will be in focus at any f-stop – the depth of field. So, it will tell you something like “everything that is between 5 and 8 feet will be in focus” and the rest of your image, foreground and background will be blurry.
Unfortunately new cameras do not have this feature. So using calculators like PhotoPills is the best and most accurate way these days.
Setting the Right Aperture for the Right Depth of Field
So open up your aperture/lens as big as you can to get (smallest number) the minimum amount of depth of field “space” in focus. If you’re using a newer lens you will do this in your camera, by using the aperture dial. Every camera manufacturer has a different way of doing this so you might have to refer to your manual (I know, it is a painful process hahhaha!). (You can also take a look at the How Your Camera Works page Make sure your subject is solidly within this “space” and you’ll get a great, sharp shot. But your background will almost melt into nothing!

In this example, looking at the guides on this lens we see that at f 22, everything between 7 feet and infinity will be in focus. That’s quite a big “space”, so we should consider “stopping down” to f-1.8 or even f- 2.8. At such a wide open aperture, we can see from the guide, that a very small space will be in focus.
This is much better! Now we can compose our shot, making sure the subject is within the 3-4 feet range. Focus one more time to make sure, check the shutter speed, and “click”, you’ve captured the moment – just the way you wanted it! Depth of field photography is easy when you know how!
If you need more examples and a few hands-on activities to help you get confident with depth of filed photography, check out my online course, Learning to LOVE your Camera. 2020 Version coming soon.
